Enhancing the Beauty A Comprehensive Guide to Polishing Cultured Stones
Introduction Cultured stones are a popular choice for adding elegance and sophistication to various architectural and landscaping projects. These man-made stones offer the look and feel of natural stones, but with more consistency in color, shape, and size. Polishing cultured stones can enhance their appearance, bringing out their natural beauty and shine. In this comprehensive guide, we will explore the process of polishing cultured stones, the tools and materials needed, as well as tips and techniques for achieving the best results. Understanding Cultured Stones Cultured stones, also known as manufactured or artificial stones, are made by mixing natural aggregates, cement, and pigments to create a stone-like material. These stones are molded and cast to mimic the appearance of natural stones such as granite, limestone, or marble. Cultured stones are versatile and can be used for various applications, including building facades, interior walls, fireplaces, and outdoor landscaping features. Benefits of Polishing Cultured Stones Polishing cultured stones offers several benefits, including enhancing their aesthetic appeal, improving their durability, and protecting them from wear and tear. By polishing cultured stones, you can achieve a smooth, glossy finish that highlights the stone's texture and color variations. This can make the stones look more natural and luxurious, adding value to your property or project. Tools and Materials for Polishing Cultured Stones Before you start polishing cultured stones, it's essential to gather the necessary tools and materials. Here is a list of items you will need: 1. Polishing machine or buffer: A rotary polishing machine or buffer is essential for applying polishing compounds to the surface of the cultured stones. 2. Polishing pads: Various types of polishing pads are available, including diamond polishing pads, resin polishing pads, and foam polishing pads. These pads come in different grit levels for coarse to fine polishing. 3. Polishing compounds: Polishing compounds are abrasive materials used to remove scratches, blemishes, and imperfections from the surface of the cultured stones. Diamond polishing compounds are commonly used for polishing stones. 4. Water: Water is used as a lubricant during the polishing process to prevent overheating and to keep the surface of the stones cool. 5. Protective gear: Safety goggles, gloves, and a dust mask are essential for protecting yourself from debris and dust generated during the polishing process. 6. Cleaning supplies: A mild detergent, clean water, and a soft cloth are needed for cleaning the cultured stones before and after polishing. Steps to Polish Cultured Stones 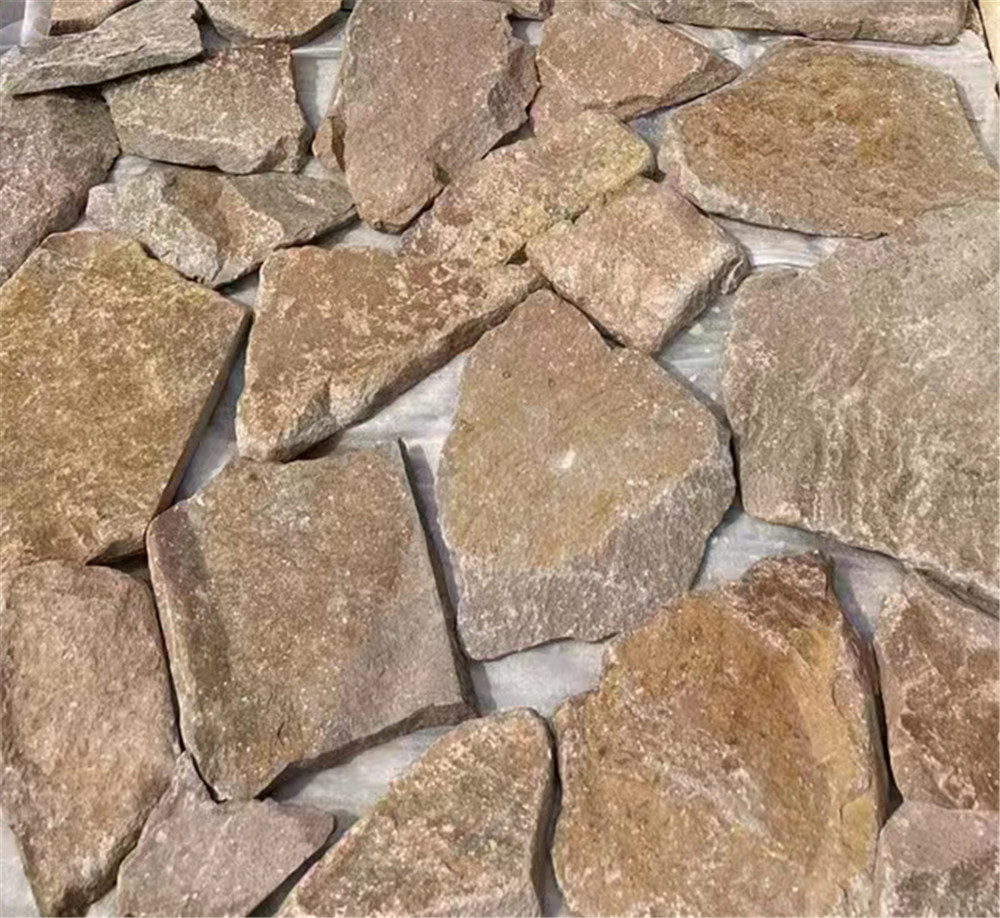 Now that you have gathered the necessary tools and materials, let's delve into the step-by-step process of polishing cultured stones: Step 1: Prepare the Surface Before polishing the cultured stones, it's essential to clean the surface thoroughly to remove any dirt, grime, or debris. Use a mild detergent and clean water to wash the stones, then rinse them thoroughly and let them dry completely. Step 2: Choose the Right Polishing Pad Select the appropriate polishing pad based on the type of cultured stones you are working with and the level of polishing required. Diamond polishing pads are ideal for hard stones like granite, while resin polishing pads work well on softer stones like limestone. Step 3: Apply Polishing Compound Apply a small amount of polishing compound to the surface of the cultured stones. Use a polishing machine or buffer with the selected polishing pad to work the compound into the stones in a circular motion. Start with a coarse grit polishing compound and gradually move to finer grit compounds to achieve a smooth finish. Step 4: Polish the Stones Once the polishing compound is applied, turn on the polishing machine and move it in a circular motion over the surface of the cultured stones. Apply gentle pressure and keep the surface wet with water to prevent overheating. Continue polishing until you achieve the desired level of shine and smoothness. Step 5: Clean and Seal the Stones After polishing the cultured stones, clean off any residue from the polishing compound using a soft cloth and clean water. Allow the stones to dry completely before applying a sealer to protect the surface and enhance the shine. Follow the manufacturer's instructions for the proper application of the sealer. Tips for Polishing Cultured Stones Here are some additional tips to help you achieve the best results when polishing cultured stones: 1. Test a small area: Before polishing the entire surface of the cultured stones, test the polishing compound and pad on a small, inconspicuous area to ensure compatibility and desired results. 2. Work in sections: Divide the surface of the stones into manageable sections and polish one section at a time to ensure even coverage and consistent results. 3. Use the right pressure: Apply gentle pressure when polishing the stones to avoid damaging the surface. Let the polishing machine do the work, and avoid pressing down too hard. 4. Keep https://www.fs-slate.com/cultured-stone-the-versatile-choice-for-modern-design/ wet: Use water as a lubricant during the polishing process to prevent the stones from overheating and to achieve a smoother finish. 5. Clean and maintain regularly: To preserve the shine and beauty of the polished cultured stones, clean them regularly with a mild detergent and water, and reapply sealer as needed to protect the surface. Conclusion Polishing cultured stones is a rewarding process that can enhance the beauty and elegance of these man-made stones. By following the steps outlined in this guide and using the right tools and materials, you can achieve a smooth, glossy finish that brings out the natural beauty of the stones. Whether you are working on a small DIY project or a large-scale construction endeavor, polishing cultured stones can add a touch of sophistication and luxury to any space.